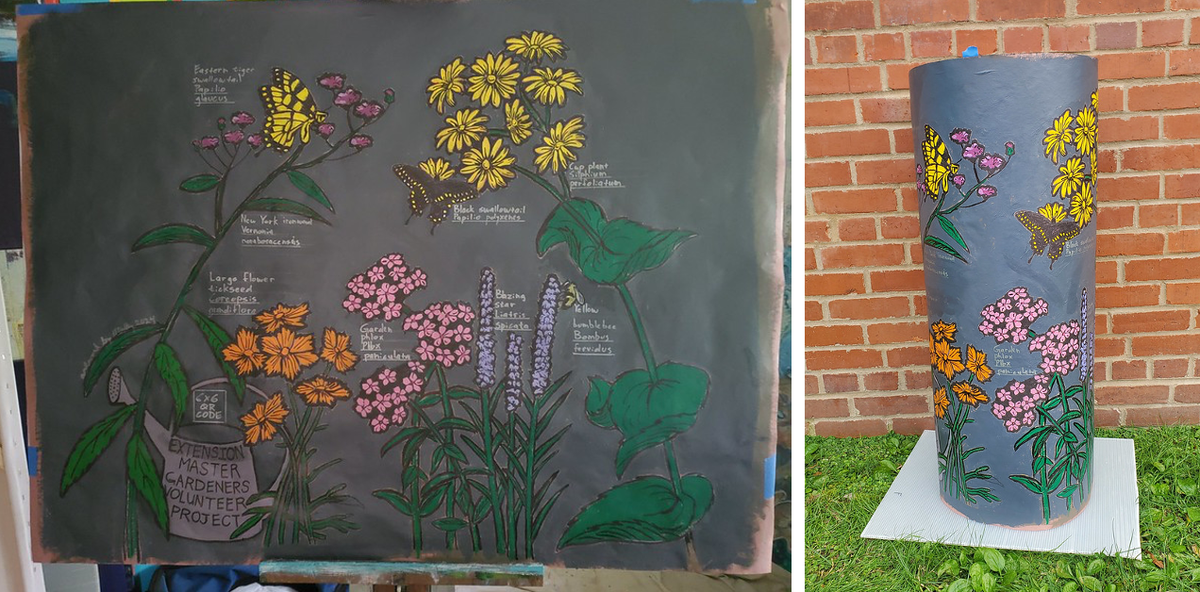
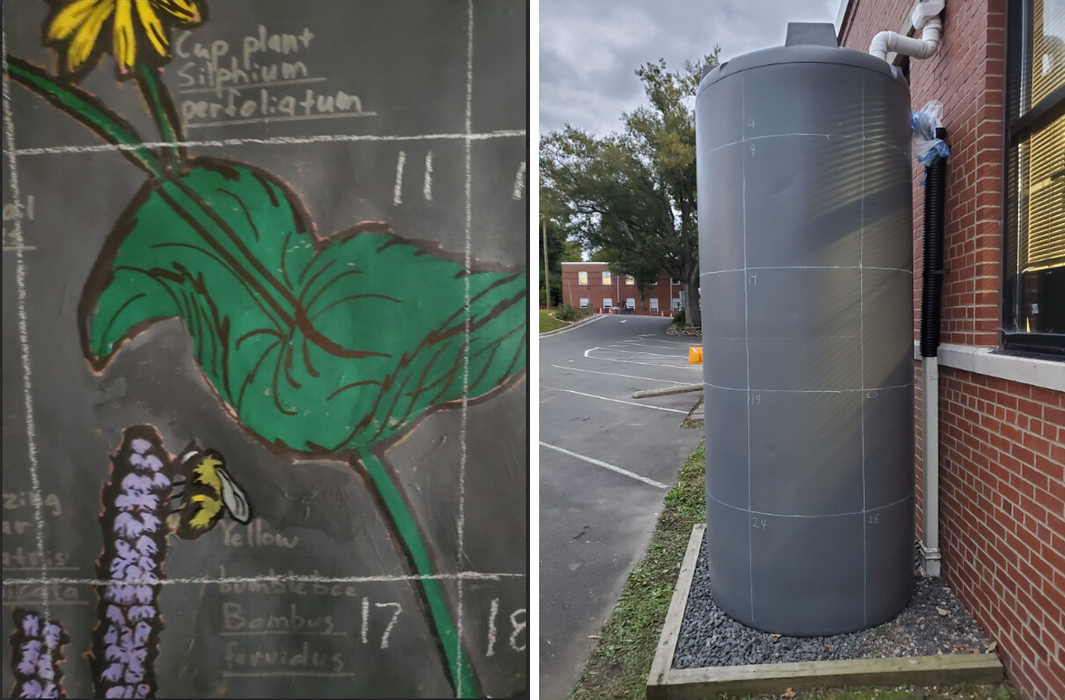
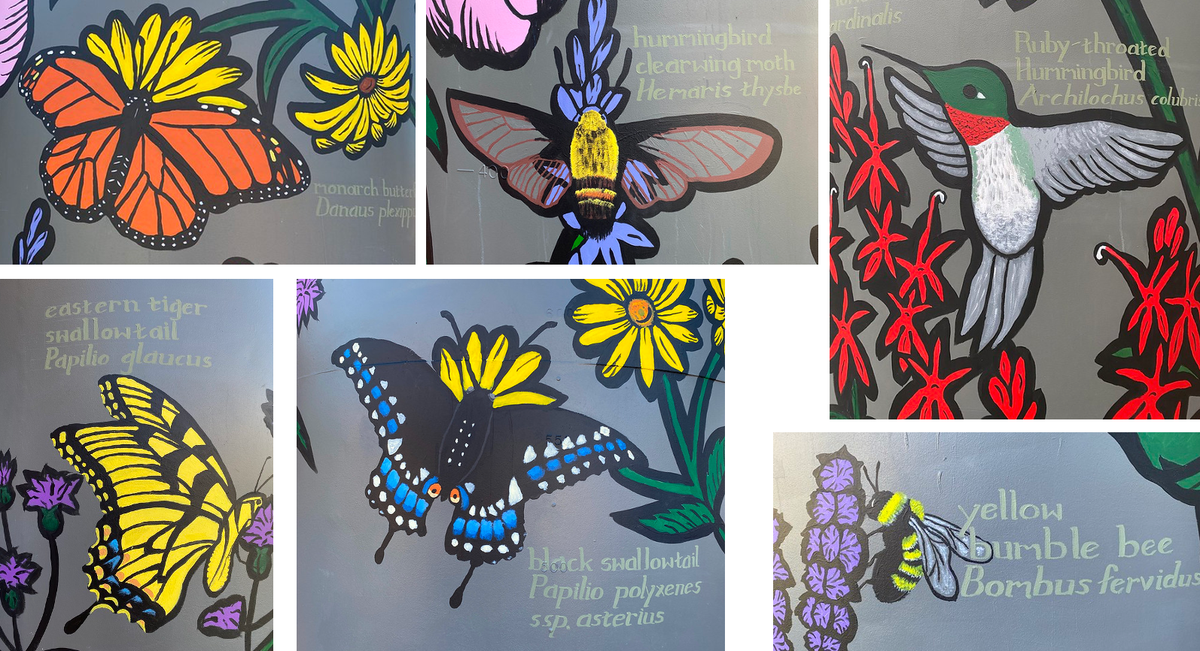
Dave Milkereit painted the plants for the cistern design and then added multiple pollinators at the suggestion of the cistern design group of Master Gardeners. As part of the initial process, Dave painted the design on packaging paper 4 feet wide and 3 feet tall. To show how the designs would actually look on the cisterns he rolled the paper. Our team felt it was important to include both the common names and the scientific names for each plant and pollinator to help fulfill our educational mission. You can see below Dave’s initial paintings and then the paintings with the common names and scientific names added.
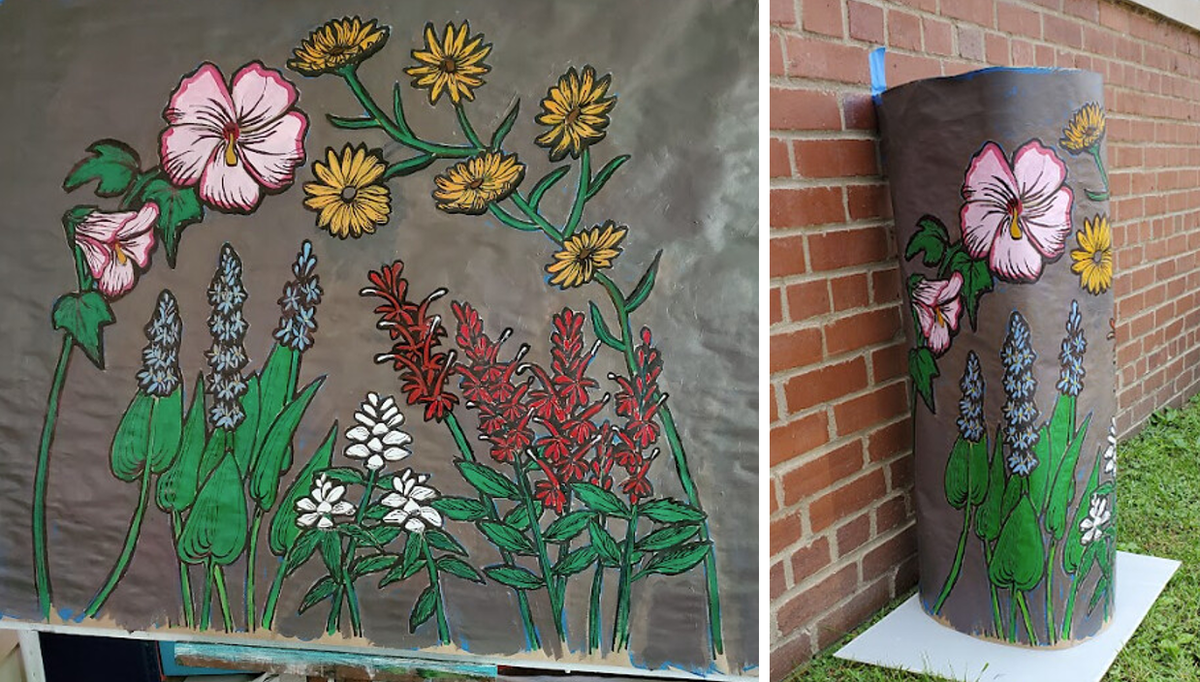
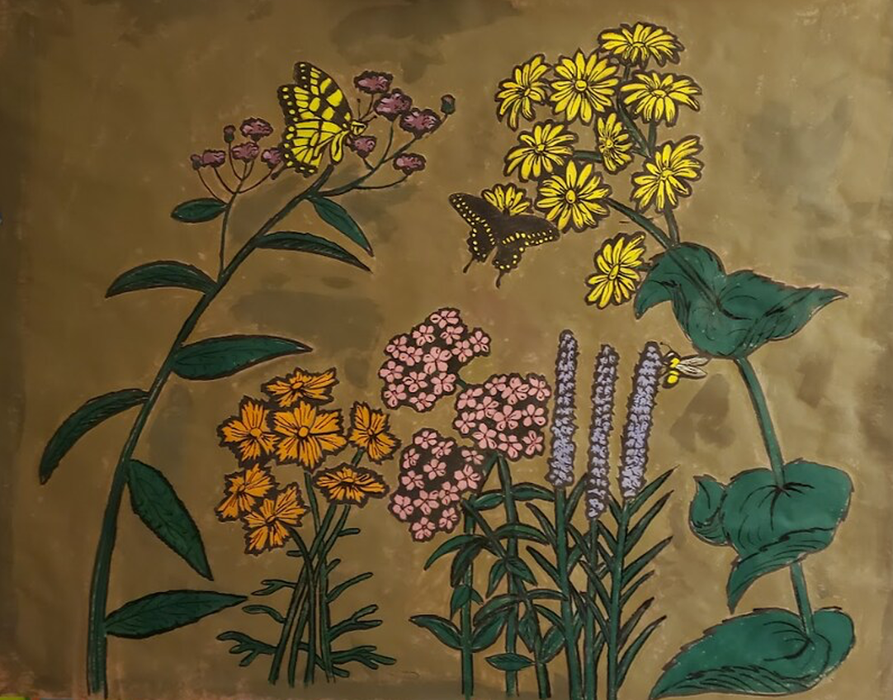
Early and final drafts of the wetland plant cistern design.
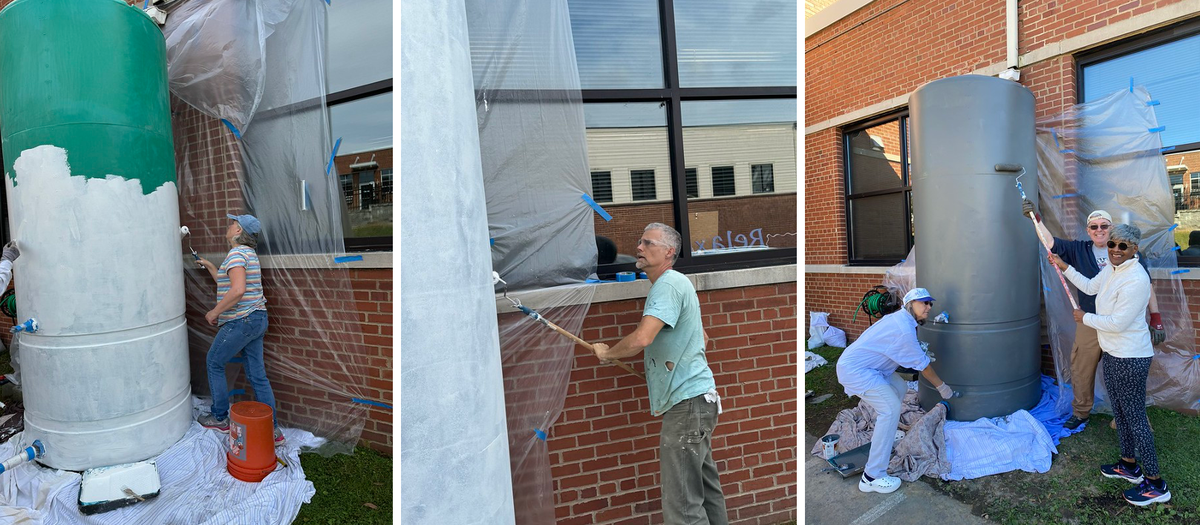
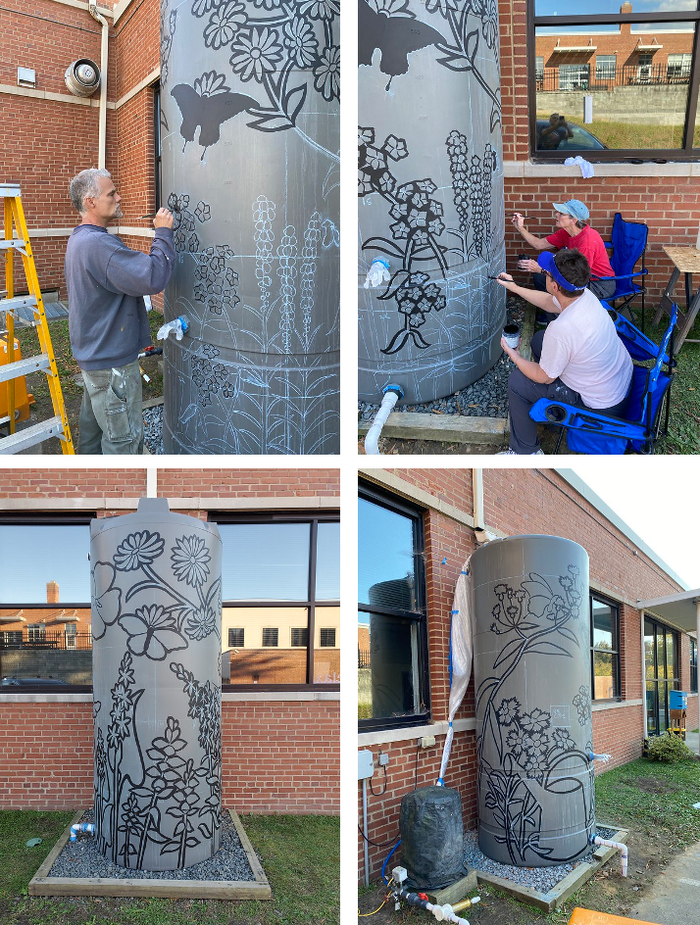
We began by preparing the cisterns for painting. The first step was to remove the remainder of the peeling paint from the left hand cistern. Some of this paint came off in nice strips but some required vigorous hand sanding and the use of electric sanders.
To ensure that the paint would stick to the cistern’s slick plastic and to decrease the chances the paint would peel again in the future, we scuffed the cisterns lightly with sandpaper. Even with the scuffing, we wanted to ensure that the paint would stick well to this smooth surface. So, we chose a Sherwin Williams primer that is designed for slick surfaces like the cisterns.
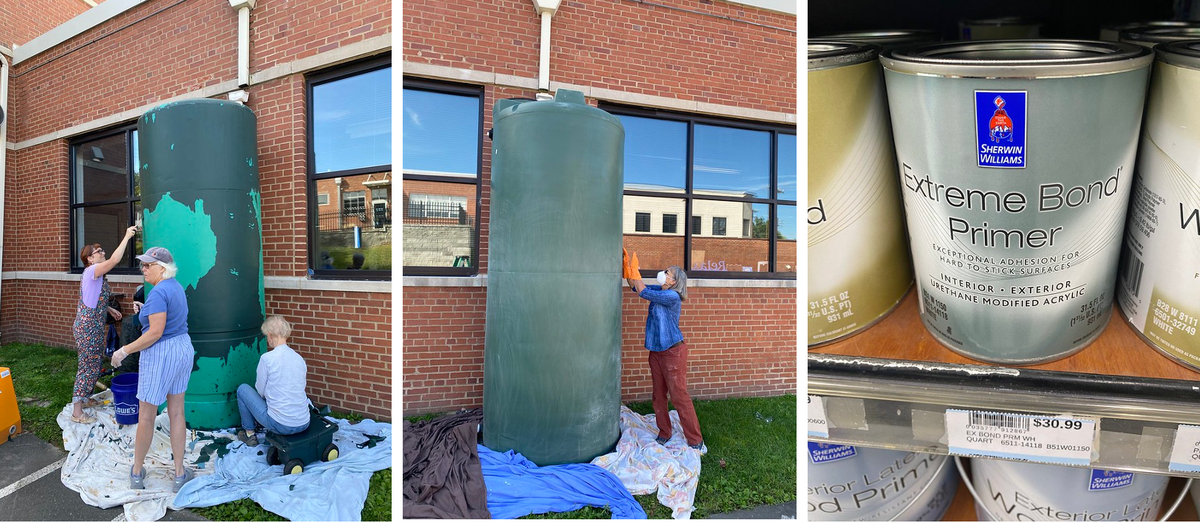
Cistern scraping, sanding, and primer.
We started the painting process with a group of Master Gardeners, including some who had never painted before!
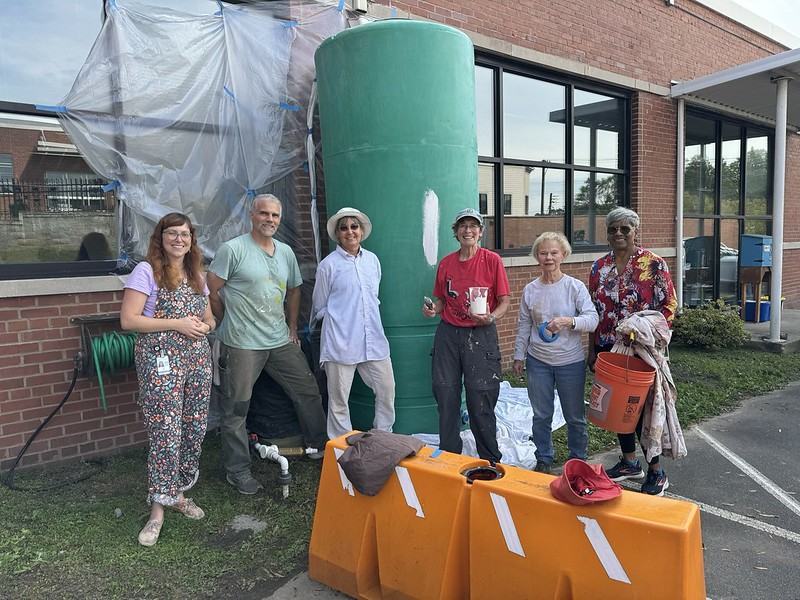
The priming required several coats for good coverage. After lots of discussion, we decided on a darker color background to allow the plants and pollinators to show more brightly on the mural display.
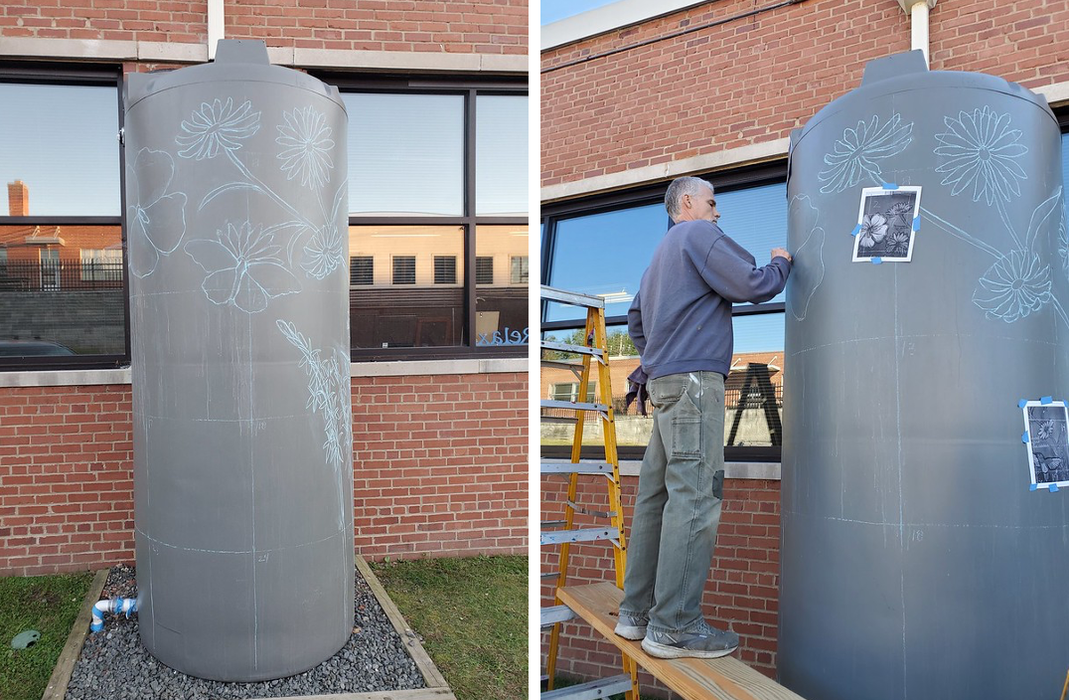
Dave divided his painting into grids to allow him to transfer his work onto the cistern scaling up the size appropriately. Dave used a 1/3 scale, with 4 inches on his drawing equalling 1 foot on the cisterns. He then used chalk to show the corresponding grids on the cisterns.
From there, he used chalk to draw the outlines of the plants and pollinators from his drawing.
After this he used black paint to cover the outlines with some help from Lisa Nadler and Deborah Pilkington.
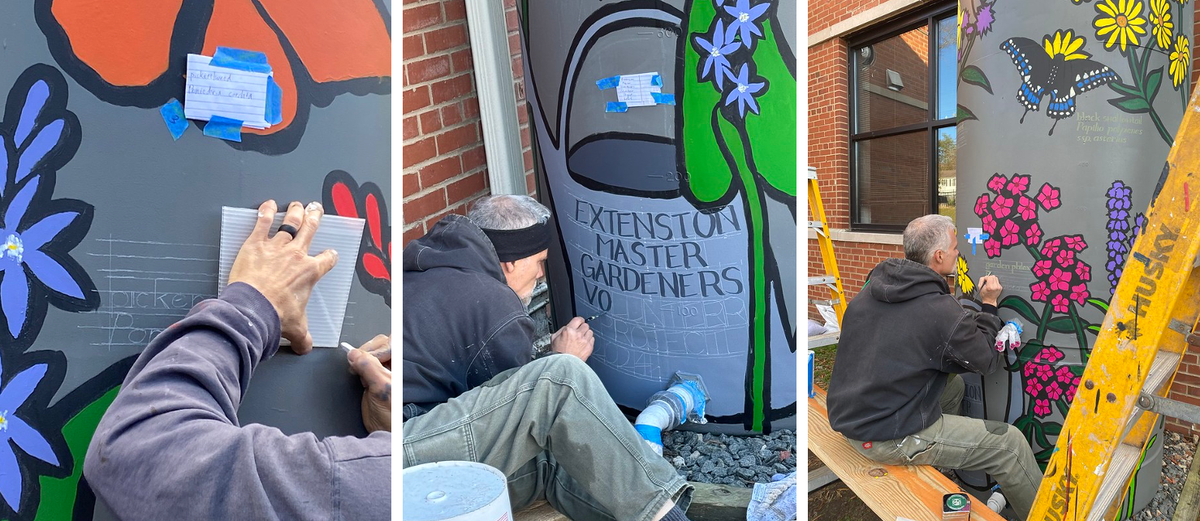
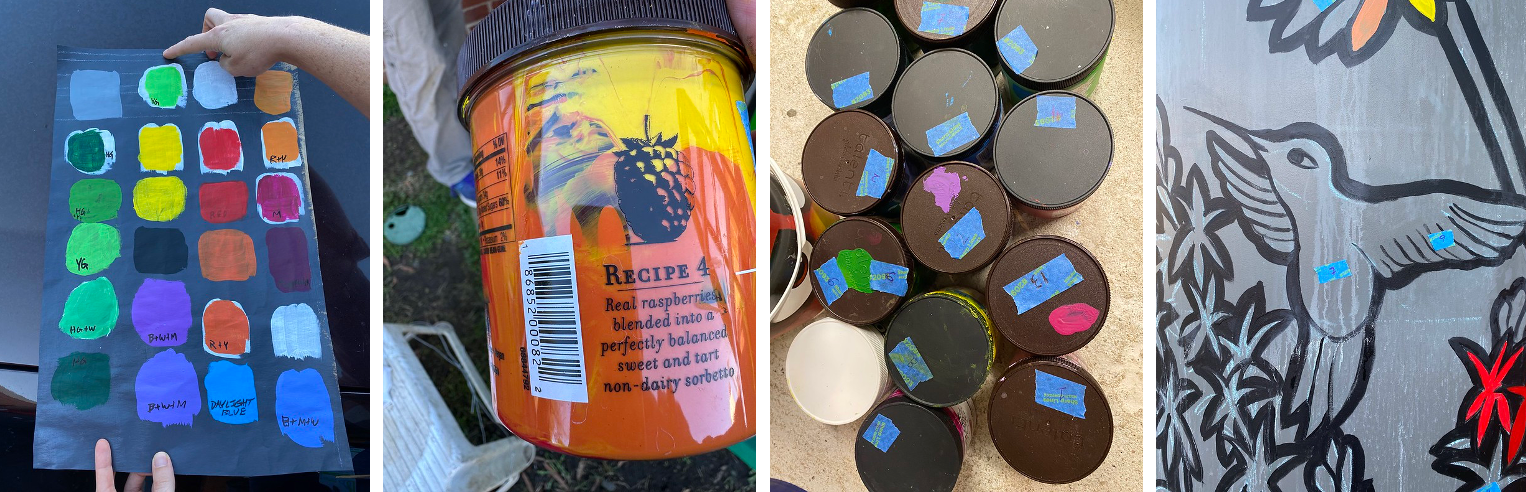
Dave and Lisa mixed paints to match the colors of the plants and pollinators. Several of the paints were translucent and required a white background before the color painting. Luckily, Talenti Ice Cream containers are perfect when repurposed for mixing paints.We labeled all of the containers of paints with a number and put the corresponding number on the plant or pollinator where that color needed to go.
And the color painting began - it was paint-by-number! The small blue pieces of tape on the mural below were associated with the numbers on the paint lids above.


The crew gets to work filling in colors-by-number. We even had a traveling paint supply station!
Undercoating with white paint, multiple layers of color paint and careful repainting of the black outline were required.
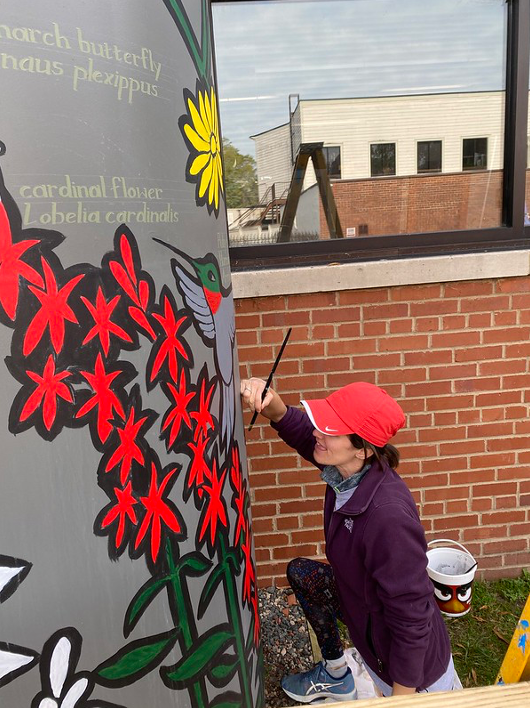
Dave did all of the lettering by hand.
The pollinators were painted by Dave and Lisa.
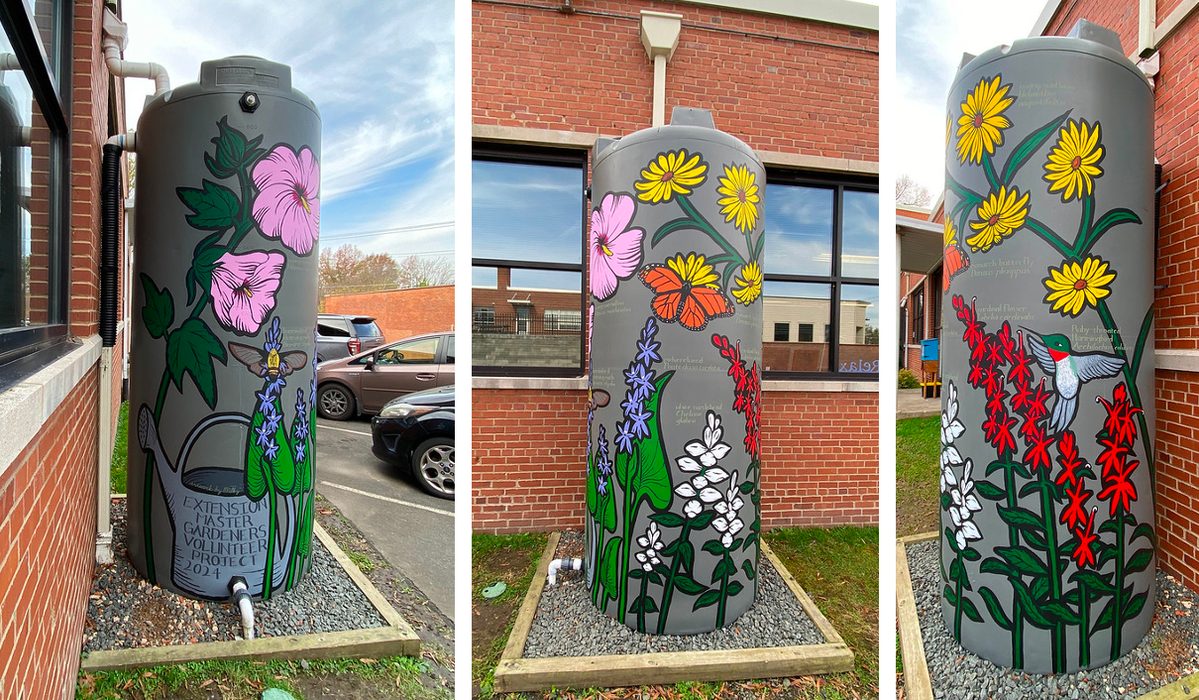
Final pictures of the Cisterns:
Left hand cistern - Prairie or Garden Plants
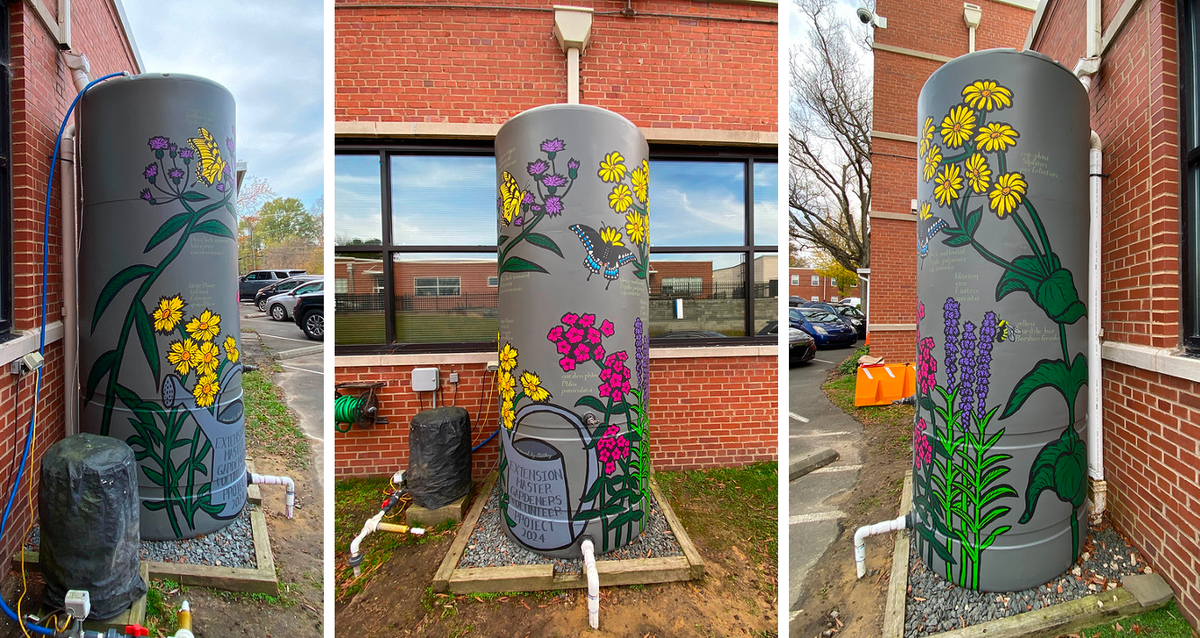
Right hand cistern - Marsh Plants
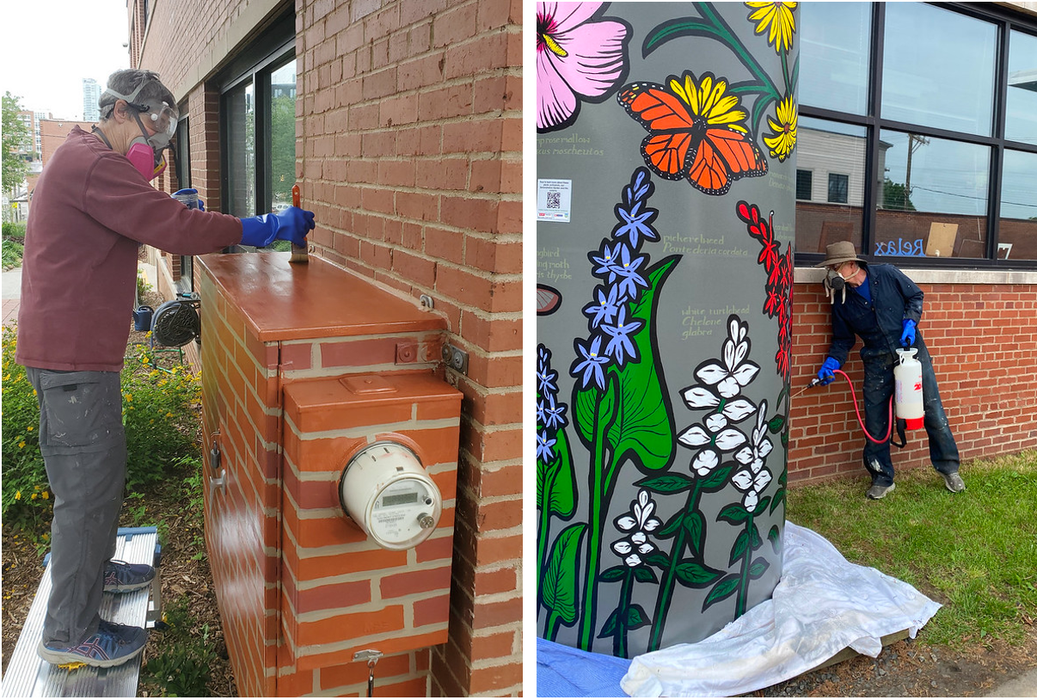
After the painting was completed, the paint was allowed to cure for several months. We then added a two layer covering to protect the murals from weathering and vandalism. It is called MuralShield™. The first layer offers preservation of the colors and protection from UV rays, chemical corrosives, pollution, and water damage. The second part of the MuralShield system is called World’s Best Graffiti Coating™, a layer that can be removed without any damage to the underlying mural if graffiti were to be applied to the mural. You can find additional information at https://muralshield.com/pages/about-muralshield-system.
Because these are toxic chemicals, we used protective equipment while applying them.
Photos by Dave Milkereit, Allie Mullin, and Lisa Nadler.
